
Day & weekend passes
Sort passes before doors open
Use different colors for SAT and WEEKEND. Spell out the distinction on the strap so staff can still identify each pass under changing light or when similar colors are used.
Full-color polyester event wristbands
Make each pass easy to spot at check-in.
Print the event logo, pass name, and colors on polyester. Then choose how each group’s band should fit, tighten, and come off.
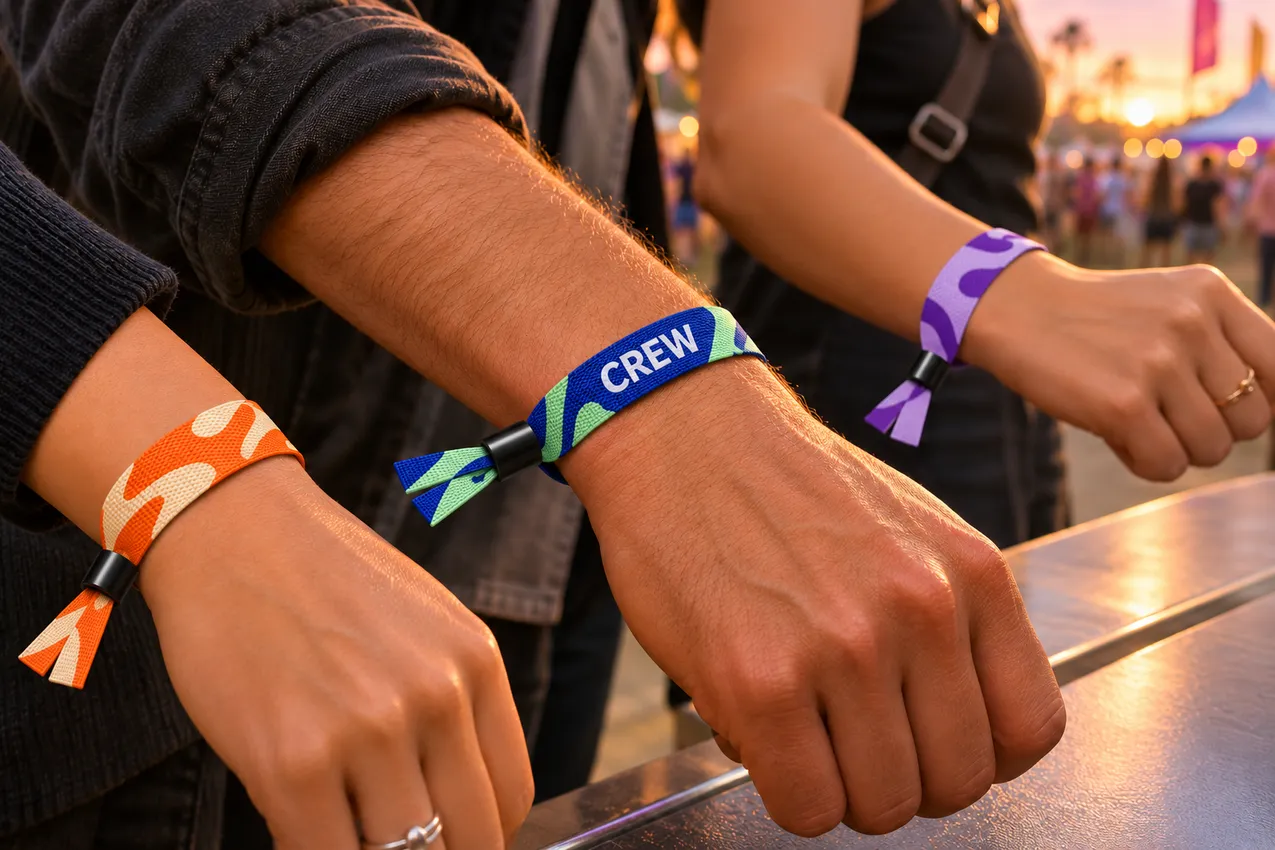
Plan for the people wearing them
Keep your event logo consistent across the order. Give each group a background color and a short label your staff can recognize without reading the whole band.
Day & weekend passes
Use different colors for SAT and WEEKEND. Spell out the distinction on the strap so staff can still identify each pass under changing light or when similar colors are used.
Staff & volunteers
Give staff and volunteers a clearly marked design. Put CREW in large, contrasting type and check that the label stays readable once the closure is fitted.
Community & team events
Use the event name or team mark as the main artwork. If people will take the band off and wear it again, ask which adjustable bead works with the width you want.
01 / Material & printing
Full-color heat transfer prints artwork onto polyester webbing. Use it for multicolor logos, gradients, and repeat patterns. A wristband gives you a narrow canvas, so choose which words have to stay readable and which graphics can wrap around the wrist.
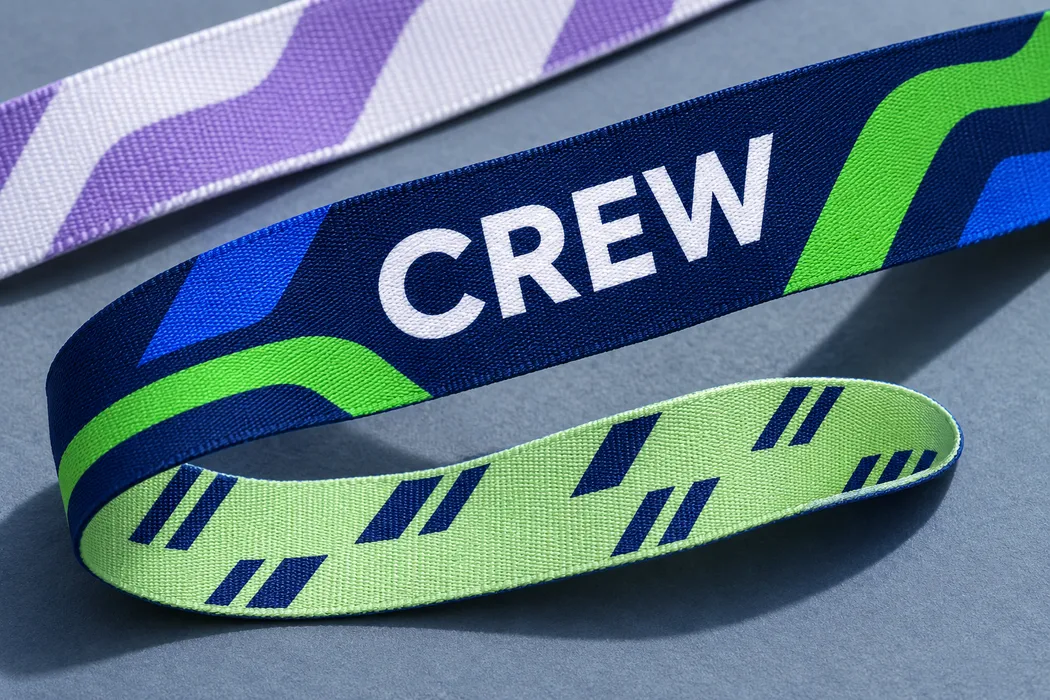
Look at the flat layout and the fitted band. The closure moves along the strap as the loop tightens. An element that looks centered in the flat file can end up near the lock on a smaller wrist. Mark anything that must stay visible.
02 / Sizing & fit
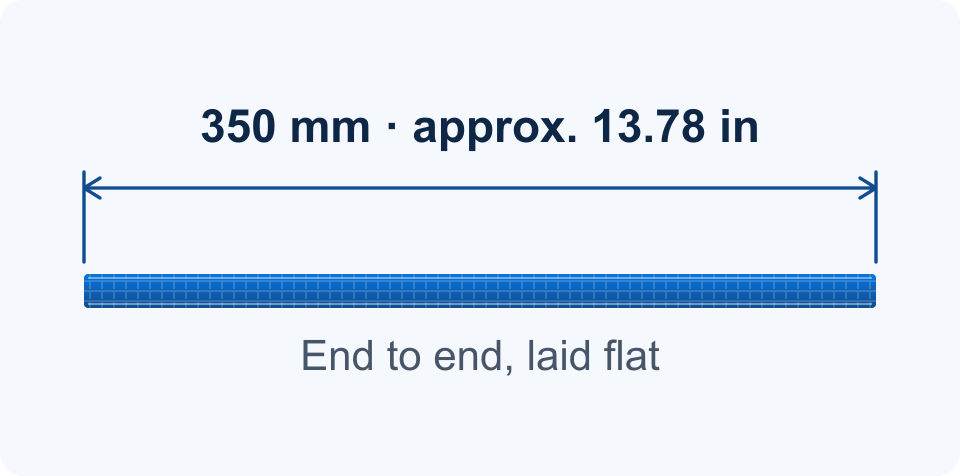
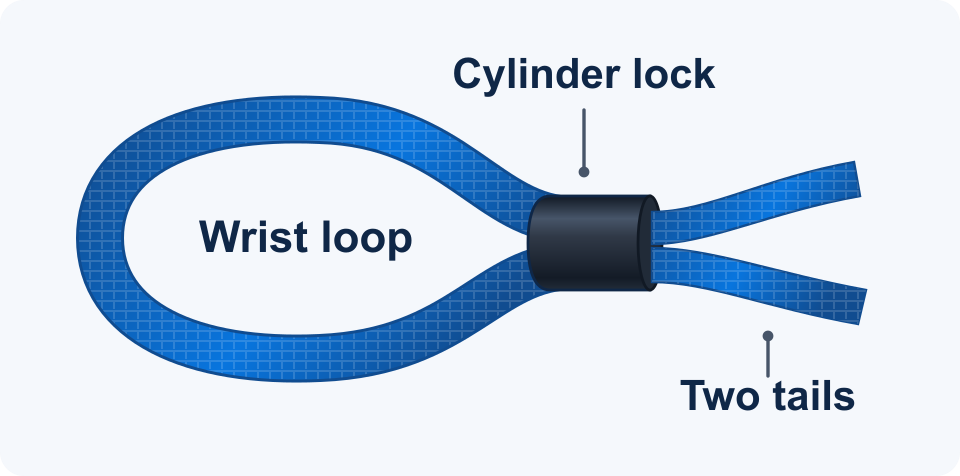
The full strap measures 350 mm (about 13.78 in) laid flat. To form the loop, both strap ends enter one side of the slider and come out together as two loose tails. A smaller loop leaves more strap beyond the closure.
Measure around the wrist where the band will sit. If you’re buying for a group, send the range of wrist measurements you need to fit. We’ll review it with your preferred width and closure.
Standard width
Start here for a short pass label, a simple logo, or a repeating motif. Leave space above and below letters so they stay distinct along the band edge.
Wider option
Consider this when a logo needs to sit with a role name or a design needs more height. Confirm which closure fits this strap width before finalizing artwork.
Before check-in, walk the crew through which way the ends feed and where the printed side faces on the finished loop.
Keep the strap flat against the wrist and confirm comfort before the final pull on a one-way lock. Leave enough room for normal wrist movement.
Use the removal instructions for the selected closure. Show staff how the bead loosens if you expect bands to be taken off and worn again.
03 / Closures
Start with how you’ll hand out wristbands. A locking closure can limit routine removal after staff fitting. An adjustable bead suits a band the wearer may need to adjust. Each family has a black and a white option.
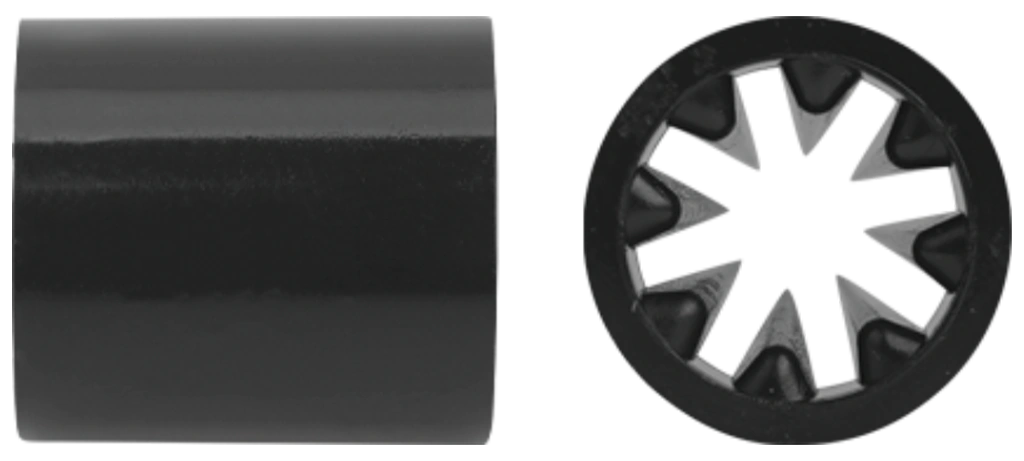
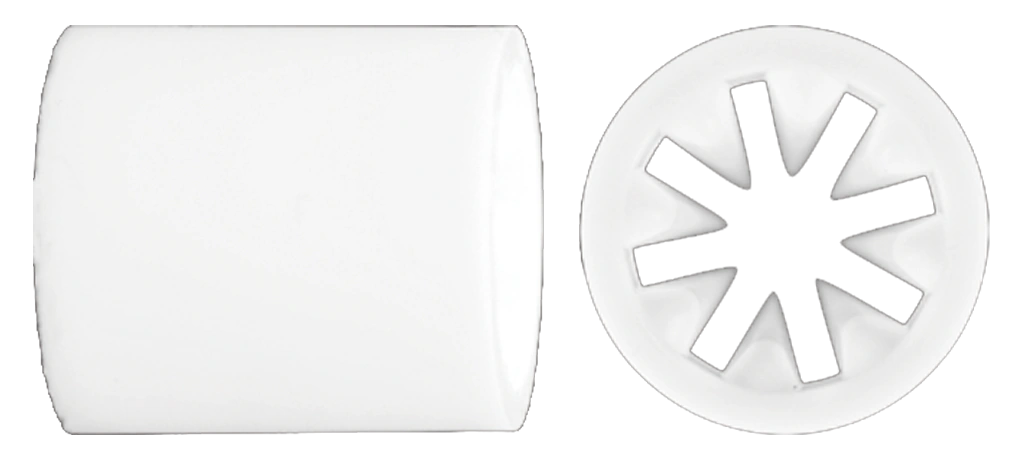
01 / One-way closure
Internal teeth grip the fabric as the cylinder slides along the strap. The lock is designed to tighten in one direction during normal use. Adjust it gradually before the final pull.
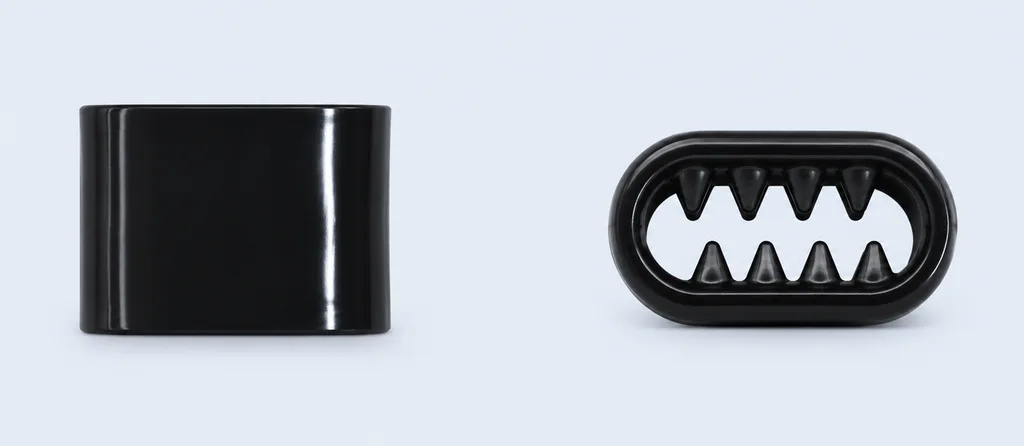
02 / Low-profile locking closure
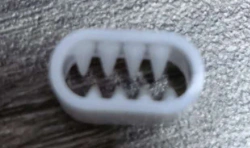
A flatter sleeve with an oblong toothed opening. Share your preferred strap width so we can confirm the compatible flat lock and the fitting and removal steps for your event.
03 / Adjustable closure
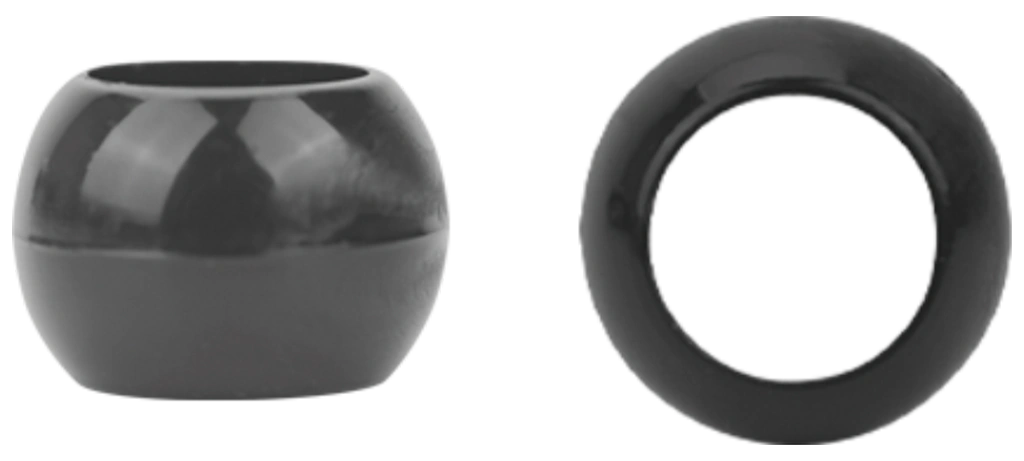
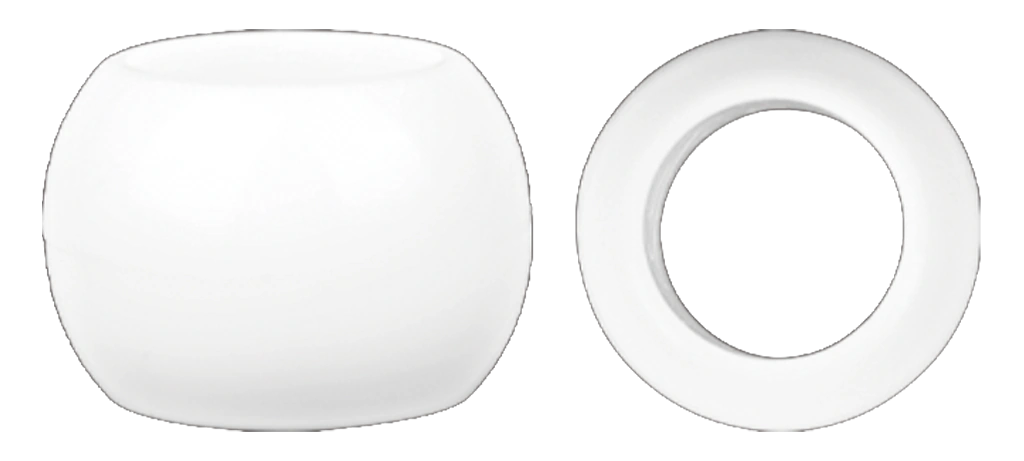
A rounded bead with a smooth opening for changing the fit. Consider it for keepsakes or groups who may want to remove their bands. If you plan to reuse them, confirm how the bead loosens with the strap width you choose.
Choose by how you’ll use it
If staff fit bands after ticket validation, compare the cylinder and flat locks. Confirm the direction, fitting steps, and removal instructions for the one you choose.
Consider an adjustable bead for wearers who need to change the fit. If you plan to reissue bands, ask how the bead releases with your selected strap.
Send the preferred width and black or white closure color for each design. We’ll confirm the fit between the strap and closure before production.
Use wristbands alongside ticket checks. Locking closures can limit routine removal. Use your normal ticket validation and staff procedures to manage access.
Product videos
See how a printed fabric wristband looks on the wrist and how the closure is fitted.
See printed fabric wristbands up close and watch how the closure is fitted.
See a VIP pass design up close and how the fabric band sits on the wrist.
04 / Artwork
We can review how the print reads on your chosen band width once we have the original artwork and an idea of how it will be worn.
Send an original vector logo if you have one, or the clearest original image for a photo or detailed graphic. Include the exact words, case, and punctuation for each group.
Label outside and inside artwork. If a specific word or logo must face outward, mark its position on a flat layout and note how it should read when worn.
Choose a standard strap color or share a custom color reference. List background and lettering colors by group and include a Pantone reference if you have one. Printed polyester can look different from a screen preview.
Before production
Look at the smallest letters and lines at the selected band width. If two words run together, shorten the label or give it more space before approving.
Verify which side faces out, which way the label reads, and where the closure crosses the design. Check the areas that may be hidden at different fits.
Compare each label, strap color, closure, and inside file to your order breakdown. Confirm the correct artwork version for every group.
Using a QR code? Share its intended use and where it needs to show. Keep it clear of the lock and overlap. Test it on the actual printed band in your intended scan conditions, and check code assignment in your ticketing system. See the artwork and color guide.
From design to check-in
Group your quantities by pass or role. Give each group its own artwork, width, closure, and packing notes so the teams handling the order know what belongs together.
Choose a band width and closure in the customizer, then add the artwork and quantity for each group that needs its own design.
Check the design preview, which side faces out, and the closure you selected. If your configuration needs a quote, submit it from the customizer.
Review the price for your configuration and your delivery details before checking out. If you need a specific arrival date or special delivery arrangement, include it when you request a quote.
Wristband checks cover strap dimensions, print placement and direction, fabric edges, closure function, and packed quantities.
For the team at check-in
Say which designs need their own packs. Give each pack the same pass name or color cue used on your check-in list.
If two gates will issue the same pass, include the split for each gate and any extra bands you want held at the help desk.
Set the in-hand date before the event. Leave time to count the packs, walk staff through the closures, and move bands to each station.
Example request
600 bands · 15 mm · Black Cylinder Lock
Blue strap with white SATURDAY text outside. Pack 350 for the north gate and 250 for the south gate.
150 bands · 15 mm · White Cylinder Lock
Orange strap with navy WEEKEND text outside and the event dates inside. Pack separately from Saturday passes.
50 bands · 20 mm · White Adjustable Bead
Navy strap with white CREW text outside. Label the pack for the crew desk.
Delivery · ZIP code 60601 · In hand by September 4 · Event September 12–13
Example only. We review closure compatibility, quantities, packing, and timing when you request a quote.
Before you order
Check strap fit, compare closures, and see how the configuration affects pricing.
350 mm (about 13.78 in) is the length of the strap laid flat. The fitted loop and remaining tail depend on the closure, threading, and wrist size. Share the fit range you need when you request a quote.
You can specify separate artwork for the outside and inside. Label each file by side. If you’d prefer a plain inside or the same design on both sides, add that to your artwork notes.
We heat-transfer the artwork onto polyester webbing. This supports full-color images and gradients. Fine lines and small type should be reviewed at the finished width.
The cylinder lock is designed to tighten in one direction. The adjustable bead lets the wearer change the fit. Ask us to confirm the fitting and removal steps for a flat lock or for any specific width and closure combination.
An adjustable bead is the option to discuss if wearers need to remove and rewear their bands. Locking closures are intended for fitting that limits routine removal. Follow the instructions for your chosen closure.
Yes, as a visible pass marker alongside your ticketing process. Pair the color and printed label with staff checks. If you need a QR code, confirm artwork placement and scan readability with your ticketing workflow.
Tell us if you’re planning a multi-day event, water exposure, or use around a pool. We’ll review whether the print, fabric, and selected closure are appropriate for the conditions you describe.
We review the strap width, material, and the closure together. Tell us the width you want and how the band should tighten or release so we can confirm the combination.
List the quantity, artwork, width, closure style, and color for each group. Use one line per setup so we can review available combinations and counts.
Include the quantities and labels you need by gate, pass, or distribution point. We’ll review those instructions with the rest of your request.
Minimums and pricing depend on your band width, closure, design, and quantity. Start in the customizer to check your minimum and see whether your configuration can be priced online.
Send the delivery ZIP code, event date, and the date you need the wristbands in hand. We’ll review your design, production requirements, and transit before confirming timing.
Planning an event?
Choose your band and closure, then add your artwork and quantity to see pricing for eligible orders.